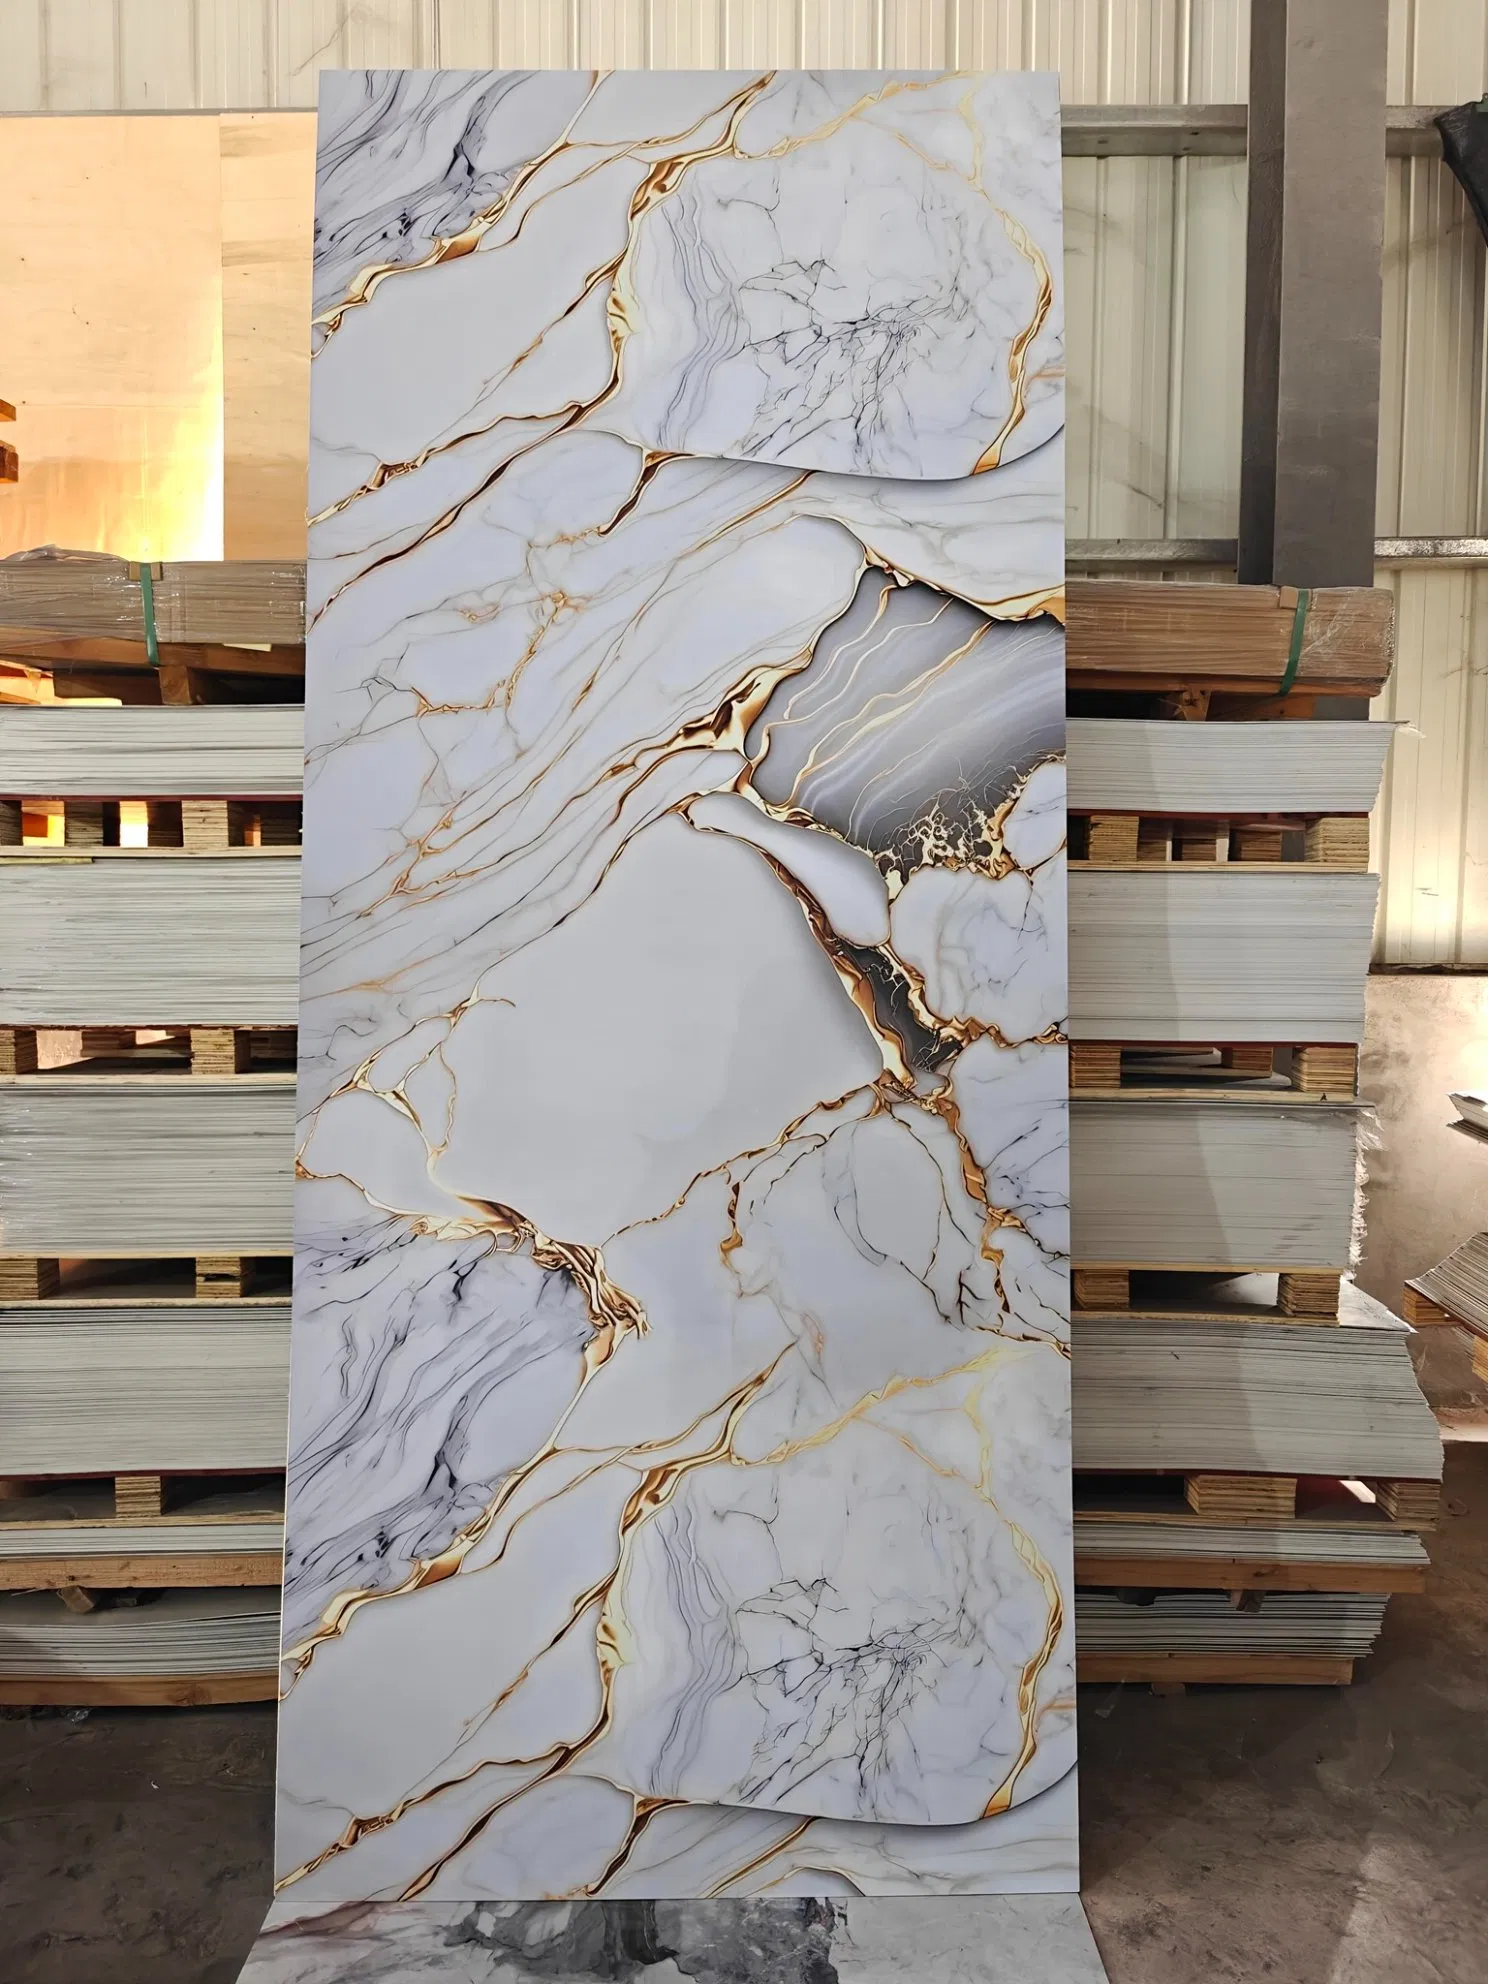
| Personalization: | Feasible |
| Post-purchase Support: | Refund and Exchange, Web-based Technical Assistance |
| Guarantee: | Five Years |
| Model NO. | Wall Panel 159 |
| Material | Spc |
| Usage | Indoor |
| Customized | Customized |
| Certificate | Une-En 13823:2012 B-S2,D0 |
| Formaldehyde Emissions | En717-1:2004 Pass |
| Features | Waterproof,Fireproof, |
| En317:1994 | 0.9% |
| En ISO24343-1:2012 | 0.04 mm |
| ISO:16000 /3,6,9,11 | a+ |
| California Specification 01350 | Pass |
| Us California Proposition 65- Phthalate | Pass |
| Transport Package | Pallet |
| Specification | 2700*600mm 305*610mm |
| Trademark | Brand |
| Origin | China |
| HS Code | 392590 |
| Production Capacity | 300000 Square Meter/Square Meters Per Month |
Product Overview
Product Overview
| Product Name | Composite Bathroom Wall Panel |
| Material | Polymer+mineral filler+additive/ Polymer+mineral filler+UV film |
| Thickness | >=3mm |
| Size | Tiles:305*610mm, 400*800mm or customized Long board:2400*1200mm, 2700*600mm, 2900*475mm, 3000*985mm |
| Application | Bathroom, Living room, Bedroom, Kitchen, Corridor, Interior wall decoration |
| Advantages | 1. UV Polymer panels serve as an alternative to natural stones in interior decoration. 2. Suitable for both public and private spaces, especially in humid areas. Environmentally friendly, waterproof, fire-resistant, high gloss, durable. 3. Easy installation and maintenance, no expansion, no deformation, fire-retardant, made by high-temperature pressing. 4. B1 fire-retardant. Easy to clean, non-porous, non-absorptive, stain-resistant. 5. Colorfast and scratch-resistant. Waterproof and moisture-proof. |
Product Images
Technical Specifications
Installation Guide
Steps for installation:
Composite wall panels must be acclimated to the installation environment for 24 hours before installation.
Allow the panels to adjust to the ambient conditions for 24 hours prior to any work or measurements. Ensure the panels are laid flat in the project area.
Composite wall panels should be installed on a flat, solid surface. Prepare the area by removing any film, dirt, or residues.
Remove any remaining wallpaper, flaking paint, varnish, etc.
1. Prime the wall with a nap roller before installing the Tongue & Groove panels for optimal results.
2. Install the panels from floor to ceiling, ensuring they are square using a spirit level.
3. Apply a glue line (1.5 - 2 mm) around the tile perimeter to create a grid system, leaving at least a 2 cm gap from the edges.
4. Press the tiles firmly against the glue along their length.
5. Measure the distance from the last tile to the wall and mark the tile for cutting when reaching the wall edge.
6. To cut the tile, draw a line, place a set square or metal ruler on it, and use a Drywall saw or oscillating saw.
7. Fill gaps with waterproof silicone sealant using a trim.
Packaging and Shipping

 English


